ProActive Quickstart COCO Annotator use case
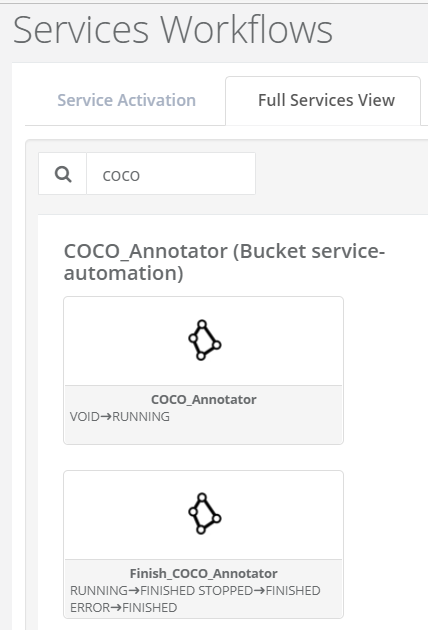
The objective of this tutorial is to guide during your first basic psa service creation, by following the COCO-Annotator use case. You will find its two related workflows, COCO_Annotator and Finish_COCO_Annotator, under the service-automation bucket. This service start a Docker-based COCO-Annotator service on a single ProActive node.
COCO Annotator is a web-based image annotation tool designed for versatility and efficiently label images to create training data for image localization and object detection. It provides many distinct features including the ability to label an image segment (or part of a segment), track object instances, labeling objects with disconnected visible parts, efficiently storing and export annotations in the well-known COCO format. The annotation process is delivered through an intuitive and customizable interface and provides many tools for creating accurate datasets.
1 Write the deployment action
-
Go to ProActive studio
-
Register with your credentials that you provided.
-
Create a new workflow. Usually, users add the following workflow variables:
- INSTANCE_NAME: the identifier of your running instance. You can index it with the ProActive key word PA_JOB_ID to ensure each new instance will be set a different instance name
- SERVICE_PORT: the listening port to access to the service portal
- PROXIFIED: a boolean to activate/deactivate the access to the endpoint through Service Automation Http(s) Proxy
- ENDPOINT_ID: the id of the service endpoint (name of the portail url for instance)
- HTTP_ENABLED: a boolean to start the service in http/https mode
But feel free to add other service variables at your convenience! -
Drag and drop a first task and import the Pre_Start_Service script (service-automation bucket) as pre script, to support the profixy functionality. Specially, this script will generate your service proxify URL.
Now it's time to add your own deployment script. Considering COCO Annotator, a Docker-based service, we simply run a Docker container. User can manage by itself the sevice random port generation and more. Do not forget to propagate the container id and the service port by writing them into dedicated files in the localspace as it is achieved. These latters will be parsed by the post script.
As a post script, add the Post_Start_Service script (service-automation bucket) which set your service variables: proxyfied (or not) endpoint url, node deployment information, service instance status (RUNNING or not RUNNING?).. Moreover it sets a token to your deployment node to prevent other tasks from accessing.
Finally, call the Clean_Start_Service script (service-automation bucket) to set the service status to RUNNING and inform other platforms of this change. -
From now, do not forget you tokenized your platform nodes! You will need to add the generic info NODE_ACCESS_TOKEN at the task level of those running on these nodes.
Your workflow status must continuously reflect the platform health: RUNNING if the platform is alive, or IN_ERROR if crashing. Thus, the second part of your workflow must loop over your platform status, using a ProActive task looping onto itself thanks to the control flow script Fetch_Logs (service-automation bucket). This latter breaks the loop at the IS_FINISHED event (propagated variable).
All the post service finishing actions are handed by the main script Check_Instance_Status (service-automation bucket) of this same task: third party creds removal, tokens removal, propagation of the IS_FINISHED variables, and more... . This main script also inspect the Docker container status to break (or not) the loop.
2 Add your deployment action to ProActive Service Automation
-
You will need to add some Generic Info to your workflow.
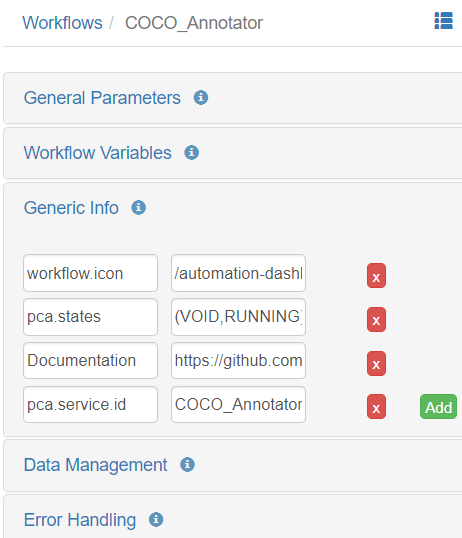
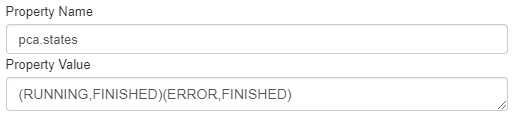
The mandatory GIs are:- pca.states: documentation of the service transitions
- pca.service.id: to identify your service (not your service instance)
The optional GIs are:- workflow.icon: iconify your service !
- Documentation: the link to your service documentation
-
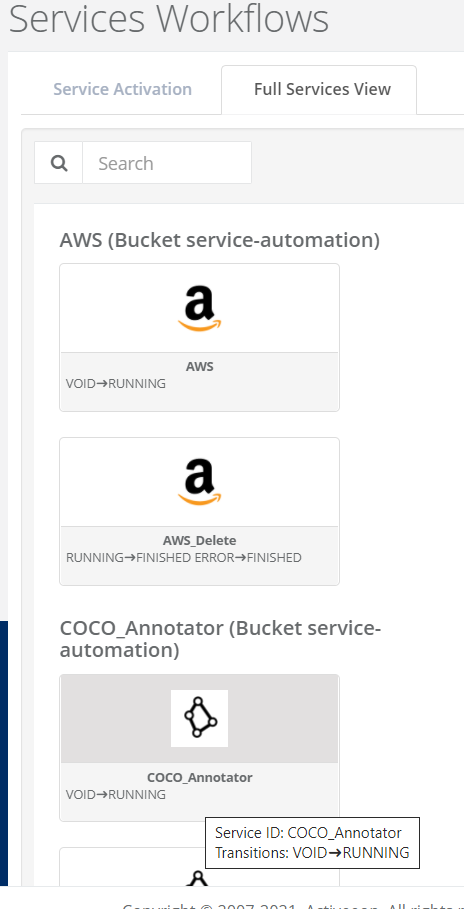
Now publish your workflow to the catalog into the service-automation bucket. Go to ProActive Service Automation Portal and see your service.
3 Write the termination action
-
Create a new workflow. Since we need to acquire some basic infos from the running platform, and to propagate the FINISHED_LAUNCHED event, import the Pre_Trigger_Action script (service-automation bucket) in a first task, with FINISH_LAUNCHED as script param.
-
Now, it is time to do the job: undeploy properly your platform, i.e. stop your service. Do it in a second task and propagate the instance name in a dedicated status file. Do not forget to target the ProActive node hosting the COCO Annotator installation by using the NODE_ACCESS_TOKEN generic info.
As a post script, import the Post_Trigger_Action script (service-automation bucket) to update the service instance according to your service status file. Moreover, it will propagate the FINISH_DONE variable if the cleaning went well, otherwise it will force the job to exit with error.
As a clean script, import the Clean_Trigger_Action script (service-automation bucket) to remove the node tokens if the platform crashs, preventing the token removal from the deployment action workflow (from the loop script).
4 Add your termination action to ProActive Service Automation
-
You will need to add the same Generic Info (at the workflow level) as for the deployment workflow, except the pca.states GI.
-
Now publish your workflow to the catalog into the service-automation bucket. Go to ProActive Service Automation Portal and see your service.