ProActive Quickstart Apache Spark use case
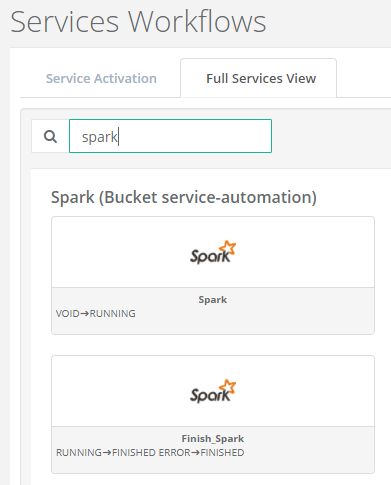
The objective of this tutorial is to guide during your first advanced psa service creation, by following the Spark use case. You will find its two related workflows, Spark and Finish_Spark, under the service-automation bucket. This service start a Docker-based Spark service on a multiple ProActive nodes.
Apache Spark™ is a unified analytics engine for large-scale data processing. It achieves high performance for both batch and streaming data, using a state-of-the-art DAG scheduler, a query optimizer, and a physical execution engine. Spark runs on Hadoop, Apache Mesos, Kubernetes, standalone, or in the cloud. It can access diverse data sources.
1 Write the deployment action
The typical process of starting a distributed service is depicted by the diagram
below

-
Go to ProActive studio
-
Register with your credentials that you provided.
-
Create a new workflow. In order to get more details about workflow variables de define, please refer to the basic service creation tutorial.
-
Some services require some information from other running services. For instance, Spark needs the overlay network name from a running Docker Swarm, to connect the Docker Spark containers to the same overlay network. In that case, you need to make these information accessible from your workflow. Drag and drop a first groovy task and import the Retrieve_variables_from_service_instance_id script (service-automation bucket). This latter requires the third-party service id as first param (could be a workflow parameter), and pairs of params: the first param is the variable name to retrieve of the third-party service (Swarm), and the second param the name under which it will be stored in the current service variables (Spark).
-
Now create a second task and connect it to the first. This task, must include the platform deployment/service start instructions (in a chosen language). You can attach more than one task, moreover replicated tasks, according to the complexity of your service. In our case, a Docker-based Spark installation requires one Docker container hosting the Spark master process (started from a task), and as many Docker containers as Spark worker processes (started from replicated tasks).
To control the targeted nodes of your deployment, add selection scripts to your deployment tasks.
Each of your deployment tasks must include a dedicated post script to propagate across the workflow the current host/node information. Here we create a json file per sub-deployment.
Moreover, do not forget to tokenize nodes covered by the installation. For instance, we do it from each deployment task post script. -
From now, do not forget you tokenized your platform nodes! You will need to add the generic info NODE_ACCESS_TOKEN at the task level of those running on these nodes (maybe all the following ones).
To make your desired variables available from other services, store them at the service level : this was achieved in the Swarm and HDFS deployment workflows to be able to retrieve them from the first task of our Spark service. To do so, call the Propagate_variables_to_current_service script (service-automation bucket) with pairs of params: a first param corresponding to the name of the variable to be stored at the service level, and a second param defining the variable name under which this latter must be stored (use VARIABLE_VALUE if the variable name does not change).
You will also need to store at the service level, all the deployment infos you propagated from your deployment tasks (via a json file per sub-deployment: master, worker0, work1,..). Consequently, from a dedicated task or script section, call the Add_deployments_and_update_service script (service-automation bucket) with the prefix of json files and their number, as script params.
Finally, call the Clean_Start_Service script (service-automation bucket) to set the service status to RUNNING and inform other platforms of this change. -
Your workflow status must continuously reflect the platform health: RUNNING if the platform is alive, or IN_ERROR if crashing. Thus, the last part of your workflow must loop over your platform status, using a ProActive task looping onto itself thanks to the control flow script Fetch_Logs (service-automation bucket). This latter breaks the loop at the IS_FINISHED event (propagated variable).
All the post service finishing actions are handed by the main script Loop_over_service_instance_status (service-automation bucket) of this same task: third party creds removal, tokens removal, propagation of the IS_FINISHED variables, and more... . This main script requires a status file (arguments.txt) with comma separated infos about the platform to parse it.
This status file can be created from a pre script in this same task. This is what we have done thanks to the jps command to list the Spark master process through its dedicated Docker container.
2 Add your deployment action to ProActive Service Automation
-
You will need to add some Generic Info to your workflow.
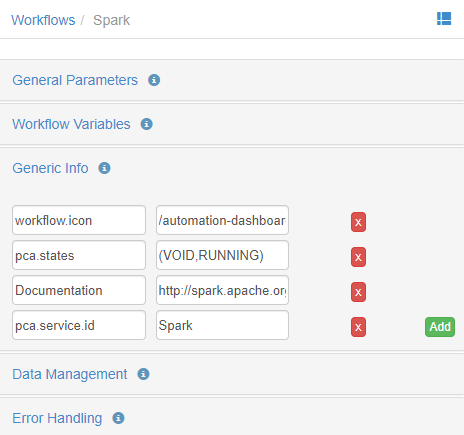
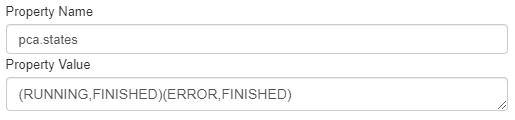
The mandatory GIs are:- pca.states: documentation of the service transitions
- pca.service.id: to identify your service (not your service instance)
The optional GIs are:- workflow.icon: iconify your service !
- Documentation: the link to your service documentation
-
Now publish your workflow to the catalog into the service-automation bucket. Go to ProActive Service Automation Portal and see your service.
3 Write the termination action
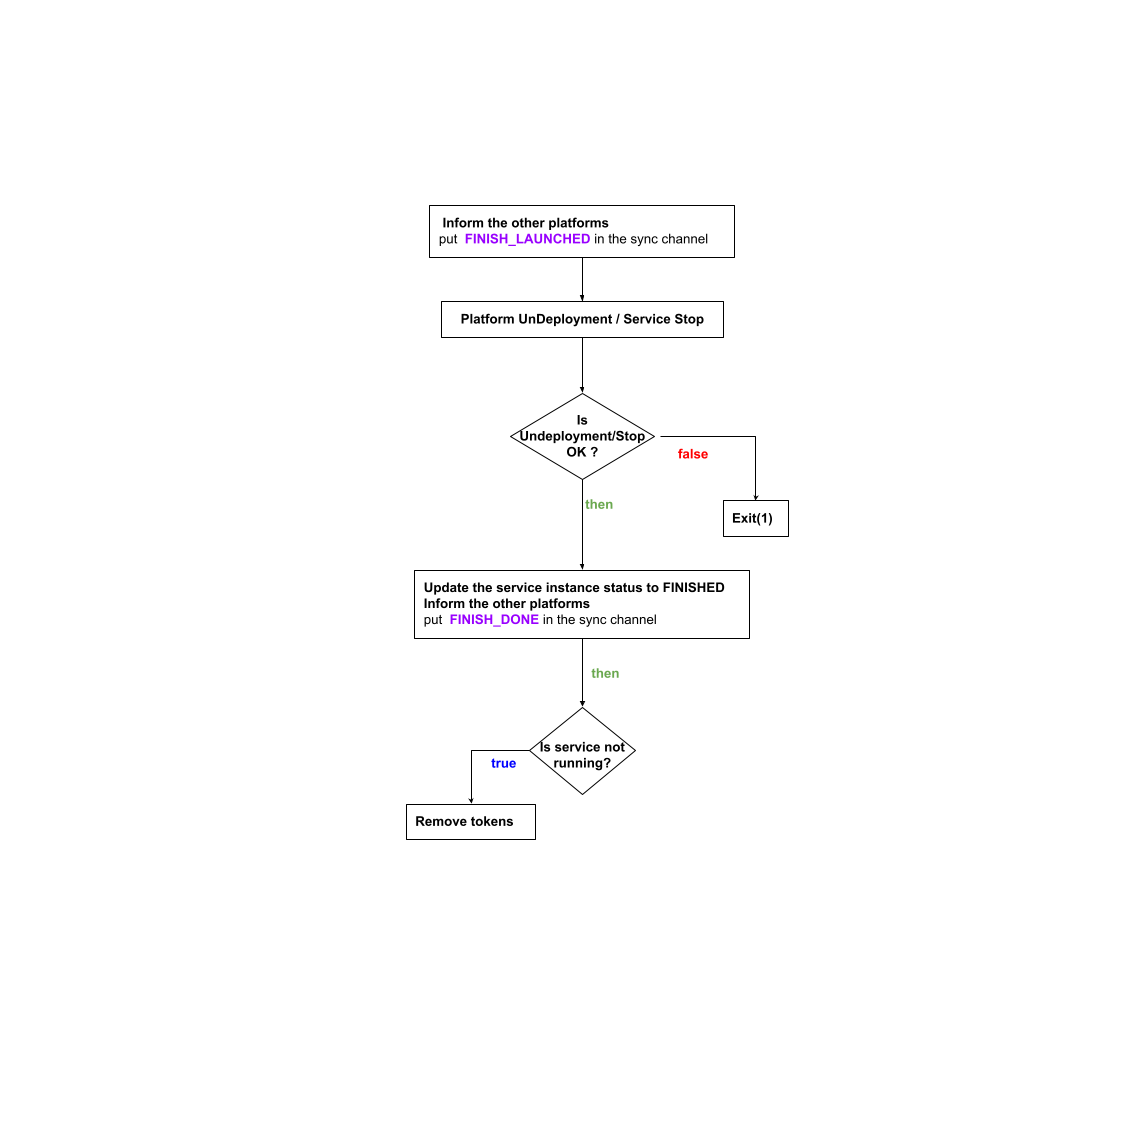
The typical process of terminating a service is depicted by the diagram below
-
Create a new workflow. Here, some information stored in the current service (remember we pushed some info to the current service from the Spark deployment workflow) are required to clean the platform (Docker network name, deployment node names). As we did for the deployment workflow, create a first groovy task calling the Retrieve_variables_from_service_instance_id script (service-automation bucket). In our case we need the Spark Docker network name (to delete it) and the Spark master/workers node names (to clean the right nodes).
-
You need now to propagate the FINISHED_LAUNCHED event. We do it from another ProActive task by calling the Pre_Trigger_Action script (service-automation bucket).
-
Now, it is time to do the job: undeploy properly your platform, i.e. stop your service. Since Spark cover multiple nodes (as many nodes as workers), we achieve this using replicated tasks.
Do not forget to target the ProActive node hosting the Spark installation by using selection scripts and the NODE_ACCESS_TOKEN generic info.
From these same tasks, we propagate cleaning status variables for the next task. -
In a new task, you will need to mark the service as FINISHED only if the platform cleaning went well. To achieve this, we gather all the cleaning status variables from the previous tasks and pass them to the Set_service_FINISHED_if_all_clean_OK script (service-automation bucket). This latter propagate the FINISH_DONE event if the cleaning went well. Otherwise it forces the job to exit with error.
-
In a last task, we need to remove the node tokens if the platform crashs, preventing the token removal from the deployment action workflow (from the loop script). To do so we call the Update_service_and_remove_tokens script (service-automation bucket).
4 Add your termination action to ProActive Service Automation
-
You will need to add the same Generic Info (at the workflow level) as for the deployment workflow, except the pca.states GI.
-
Now publish your workflow to the catalog into the service-automation bucket. Go to ProActive Service Automation Portal and see your service.